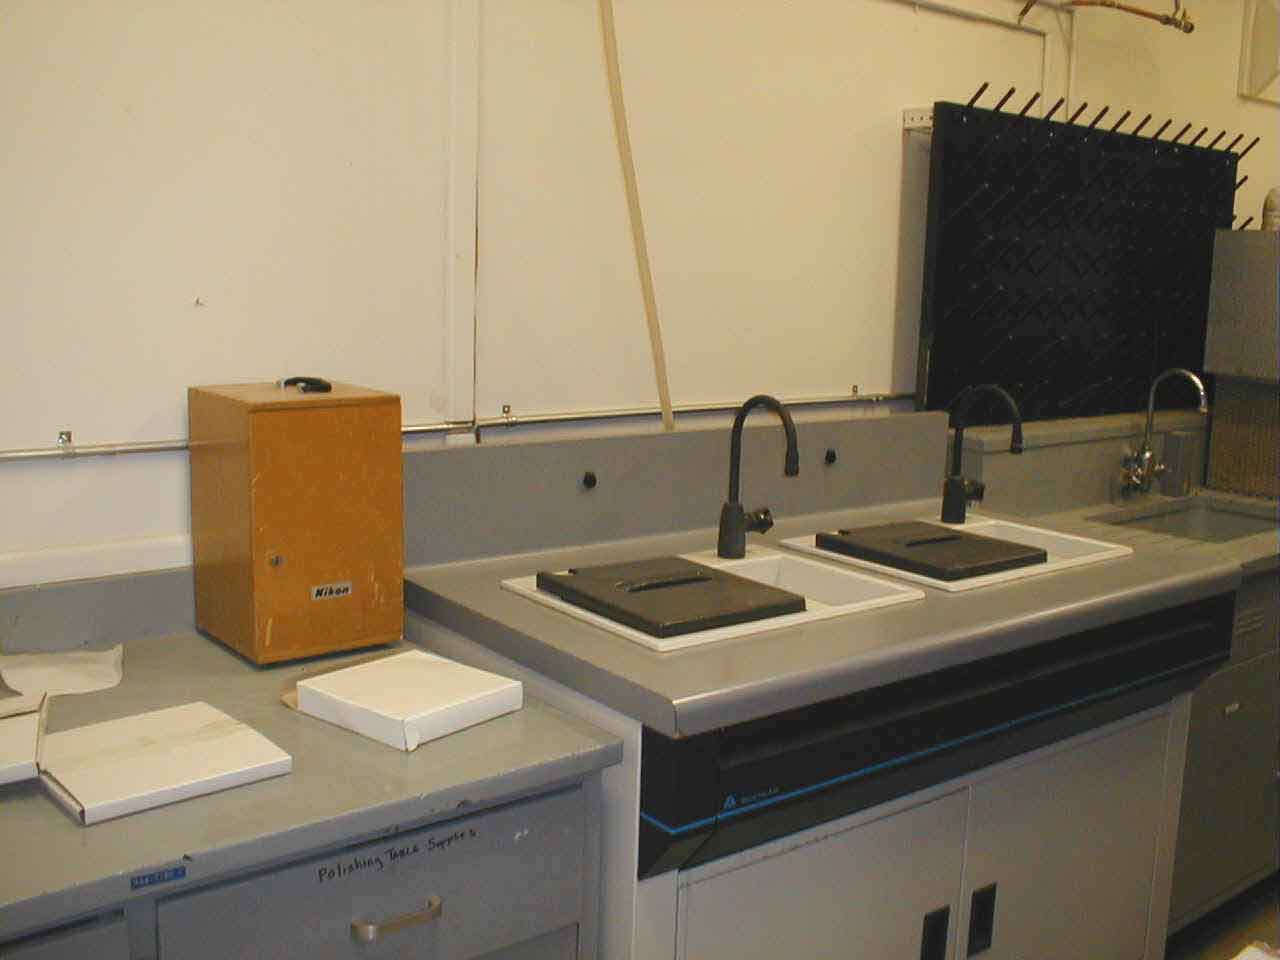
- Mount the 100 grit (163um, red) diamond grid on the magnetic lap wheel, turn on the water and adjust the stream, turn on the lap and adjust the speed to about 200 rpm (this may change depending on the composition of your sample). Try to keep even pressure along the sample to obtain a flat polished surface. Examine the sample often as material is removed quickly at the stage, and it is possible to destroy the sample, or dome or wedge the surface. Remove, rinse, and dry the grid.
- Mount the 200 grit (68 um, green) diamond grid on the magnetic lap, adjust water and speed as above. Grind the sample using almost no pressure for approximately 3 minutes (the length of time needed for this and successive steps varies from sample to sample) and repeat the cleaning procedure described above.
- Mount the 600 grit (30um, yellow) diamond grid on the magnetic lap, adjust water, speed, and grinding time as above. Rinse the sample well and ultrasonify for 20 seconds.
- Mount the 1800 grit (12um, blue) diamond grid on the magnetic lap and follow the procedure described above.
- Mount the 3000 grit (6um, orange) diamond grid on the magnetic lap and follow the procedure described above. Rinse the sample well and ultrasonify twice for 20 seconds each time.
- Now you will move to the manual laps. Add a small amount of 6um loose diamond grit to the lap cloth. Wet the surface of the cloth with DI water. Polish the sample using moderate pressure for 3 minutes using a figure 8 pattern. Periodically rotate the sample to achieve an even network of scratches. The sample should become reflective at this stage and the network of scratches will become invisible to the naked eye (still visible under the dissecting scope). If the sample has not polished well in 3 minutes repeat for another 3 minutes. If after 6 minutes total, the sample is not reflective, clean and ultrasonify the sample well and move to the 15um loose diamond cloth, polish for 3 minutes, clean and ultrasonify the sample well, and return to the 6 um cloth. BE SURE TO CLEAN AND ULTRASONIFY THE SAMPLE IN BETWEEN EACH STEP TO AVOID CONTAMINATING THE LAPS. If this does not work you may need to go to the 30um loose cloth then back to the 15um then back to the 6um. When you are finished with a loose diamond lap cover the lap until dry with a kimwipe, and return the glass plate to its ziplock bag.
- Move to the 1um cloth and polish for a final 2 minutes. Clean the sample well, ultrasonify and replace the plate as above.
- The sample is now polished and ready for the final cleaning and carbon coat.
